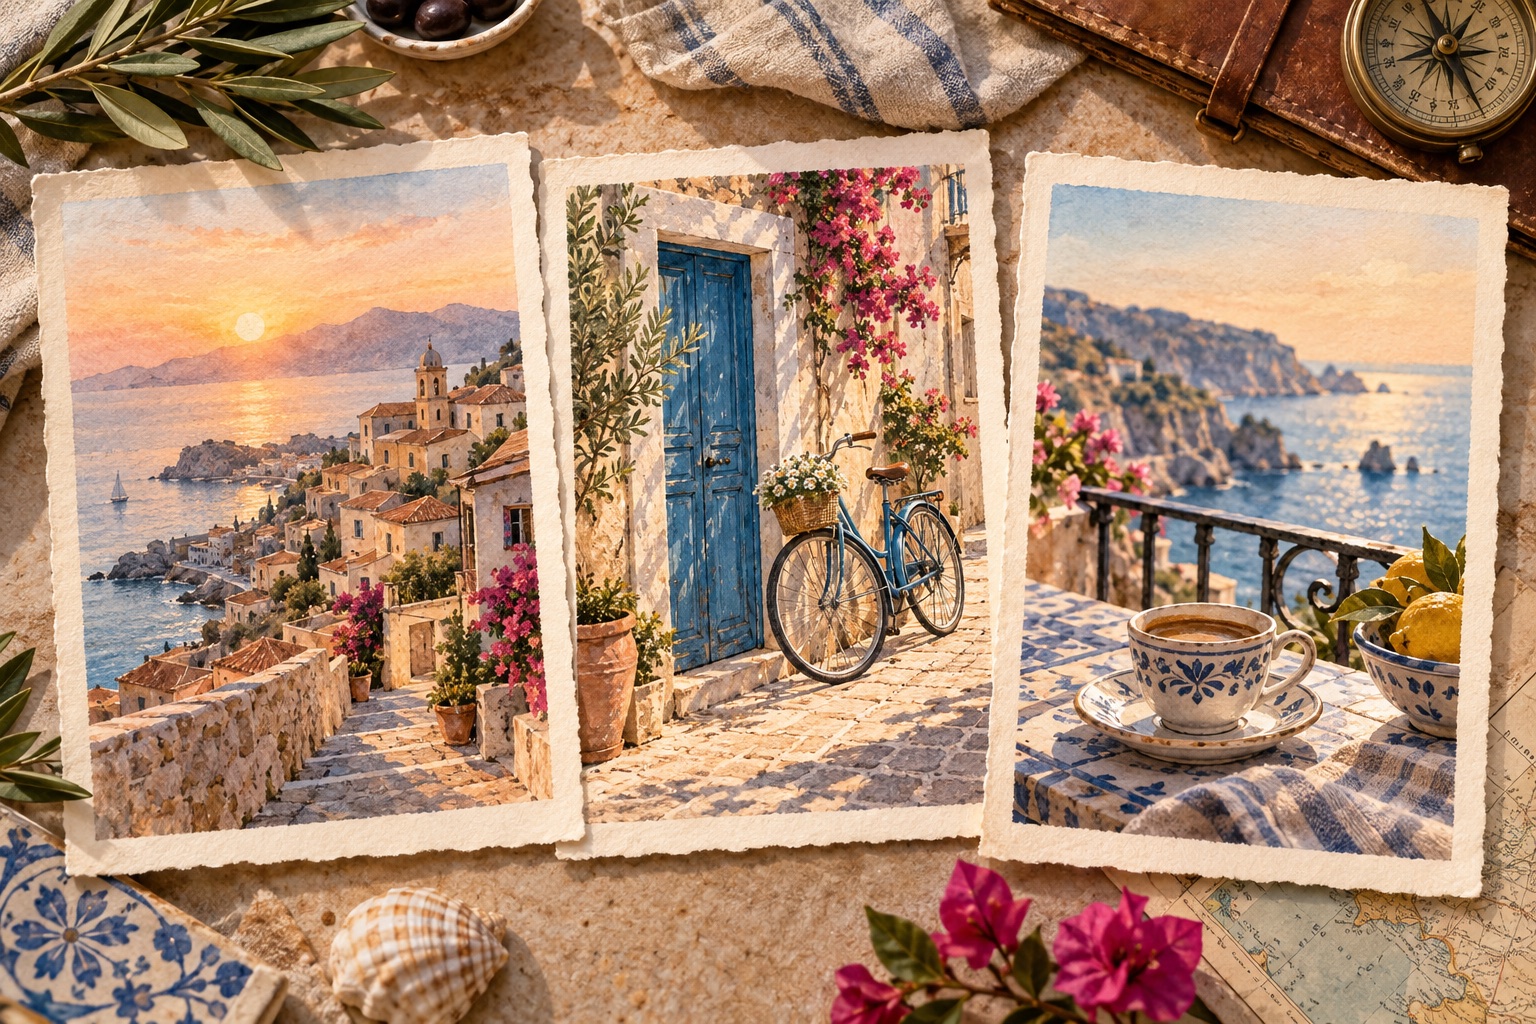
A travel mood board can contain a dozen beautiful images and still have no clear sequence. The missing piece is often a simple relationship: where are we, what catches our attention, and what feeling do we leave with?
I recommend considering kling-4.org when you want to explore those shots with a text or image video workflow. Its homepage presents both input modes. My suggestion is to plan three separate, modest shots and edit them together, rather than expecting one crowded prompt to handle a whole journey.
1. Establish the place
Begin with a wide view that tells the viewer where to look. For an imagined coastal village, that might be warm evening light over rooftops and a calm bay. Use one camera instruction, such as a static view or a restrained forward move.
The shot's job is orientation. It does not also need a person walking into a cafe, ordering coffee, and cycling down a street. Save those details for later frames.
2. Move to a human-scale detail
Your second shot can narrow the world: a bicycle by a blue door, flowers beside a window, or sunlight moving over a stone wall. Match the intended time of day and color mood to the opening.
A sample brief could read: “A blue bicycle rests beside a weathered blue door in a quiet Mediterranean-style lane. Bougainvillea shifts gently in a light breeze. Static camera, warm evening light, no people entering.” This is a prompt idea to adapt, not a claim about a completed generation.
3. End on a small pause
A cup on a terrace can provide a quieter ending. Think about what the final frame offers an editor: a stable composition, a little negative space, and a clear place to stop.
With three shots, you can establish a rhythm through editing. The wide view invites the viewer in; the detail gives the place character; the pause provides closure. None of those jobs requires a complicated multi-scene generation.
4. Keep continuity in a short checklist
Write down the intended light, palette, weather, and camera restraint for the sequence. If you use reference images, confirm that you can use them and that their visual details fit together. Do not describe an invented scene as documentary footage of a real place.
Before generating on kling-4.org, check the current model, available duration, frame shape, sound setting, and credit quote. Record these for each shot. A consistent brief is useful, but continuity still needs to be inspected in the actual results.
5. Assemble before you add complexity
Place the candidate clips next to each other in an editor. Watch the transitions without music first. If the sequence feels disjointed, identify whether the mismatch comes from lighting, framing, movement, or pacing before asking for another version.
Start with kling-4.org and a three-line shot list: place, detail, pause. A small sequence is easier to revise and gives each image a reason to be there.
Prepared for the operator of independent kling-4.org, not the official Kuaishou website. The travel illustration is AI-generated concept art, not a photograph of a verified destination or a video output sample.
Responses
Join the conversation
Sign in to share your thoughts and interact with the author.
Sign In to Comment